Ensuring an app’s UI looks consistent is just as important as making sure it functions correctly. Small visual changes can impact how users interact with an application. Playwright, a powerful browser automation tool, allows us to add visual testing to verify that UI elements appear correctly and work as expected.
This blog will guide you through setting up visual tests in Playwright, starting with generating and comparing screenshots. We’ll cover how to create a baseline image and keep it updated as the UI evolves.
Additionally, we’ll explore how to fine-tune screenshot comparisons by adjusting tolerance levels. This includes setting thresholds to ignore minor visual differences and using pixel diff options to define how many pixels can differ before a test fails. By the end, you’ll know how to use Playwright’s visual testing features to ensure your app’s UI is consistent across releases.
- What is Visual Testing?
- How does Visual Testing in Playwright work?
- Benefits of Visual Testing in Playwright
- Create Simple Visual Test in Playwright (Generate and Compare the Screenshots)
- Get an Idea about Failed Comparison Test
- Set Custom Name to the Captured Image
- Non-Image Snapshots
- Updating BaseLine Screenshot
- Image Comparison in Playwright with Threshold and Pixel Difference Option
- Conclusion
What is Visual Testing?
Visual testing is the process of verifying that an application’s user interface (UI) appears correctly to users across various devices, browsers, screen sizes, and operating systems, ensuring visual elements such as layout, design, colors, fonts, and components are rendered as intended. It focuses solely on how the software looks, not how it functions, by comparing images to detect visual changes. This approach is particularly useful in scenarios where specific elements in the page’s code are hard to identify and helps maintain a consistent appearance of the website over time.
How does Visual Testing in Playwright work?
Playwright makes it easy to test the visuals of your app by using methods like toHaveScreenshot() and toMatchSnapshot(). These methods allow you to take screenshots during tests and compare them with a saved ‘baseline’ image.
The first time you run the test, Playwright saves the screenshot as the baseline. In future tests, it compares the new screenshot with the baseline. If they are matched, the test passes. If there’s a difference, the test fails. This process is called Visual Testing or Visual Comparison Testing and it helps to catch any unexpected changes in the app’s appearance.
Prerequisites for Visual Testing with Playwright
- To prepare your environment for Playwright visual testing, ensure that you have all the required tools installed. For a simple and quick guide that covers everything from downloading Visual Studio Code to installing Node.js and Playwright, click on the Playwright link and refer to the Prerequisite Steps section. This resource offers a step-by-step plan to help you get started with Playwright for test automation.
Benefits of Visual Testing in Playwright
Quick Setup: Playwright’s visual testing features are built-in, so you don’t need to spend extra time installing third-party plugins or libraries. You can start executing visual tests almost immediately after setting up Playwright, saving both time and effort.
Scalability: As your project grows, Playwright’s visual testing scales easily without adding complexity, enabling you to add more visual test cases quickly as part of your ongoing test automation.
Simplicity: Unlike other testing types, where you might need to dive deep into logs to identify issues, visual testing with Playwright makes it easy to spot differences. If a test fails, you simply check the visual output where the differences are highlighted in red. This lowers the barrier to entry for all team members, including non-technical stakeholders, and encourages better collaboration on UI changes.
Automatic Baseline Creation: On the first test run, Playwright automatically saves a baseline screenshot, making it simpler to manage and track visual changes in your application over time without extra configuration.
Cross-Browser and Cross-Platform Support: Playwright allows visual testing across multiple browsers (Chromium, Firefox, WebKit) and platforms (Windows, macOS, Linux), ensuring that your app looks consistent regardless of the environment.
Pixel-Perfect Comparison: Playwright uses the pixelmatch library for accurate, pixel-by-pixel comparison, which helps detect even the smallest visual changes, making it ideal for ensuring consistent UI appearance.
Flexible Comparison Options: Playwright offers configurable options like maxDiffPixels to adjust the sensitivity of comparisons, and threshold to define the tolerance level of image differences, providing more control over the visual testing process.
Easy Snapshot Management: Visual snapshots are stored alongside test files, and Playwright provides commands to update snapshots (–update-snapshots), making it easier to keep up with intentional UI changes.
Create Simple Visual Test in Playwright (Generate and Compare the Screenshots)
- Let’s Implement a Visual Test using Playwright, create a new javascript file, and inside it, create a new test that performs the visual comparison like below.
import {test, expect} from '@playwright/test'

test('Visual Testing Demo', async ({ page }) => {
  await page.goto('https://playwright.dev/');
  await expect(page).toHaveScreenshot();
});- Run your first visual comparison test using the below command, here we run the test for only Chromium browsers, you can run it for multiple browsers as well.
- npx playwright test –project=chromiun
- When you run your test for the first time, the test will fail as there is no base image available for the comparison.
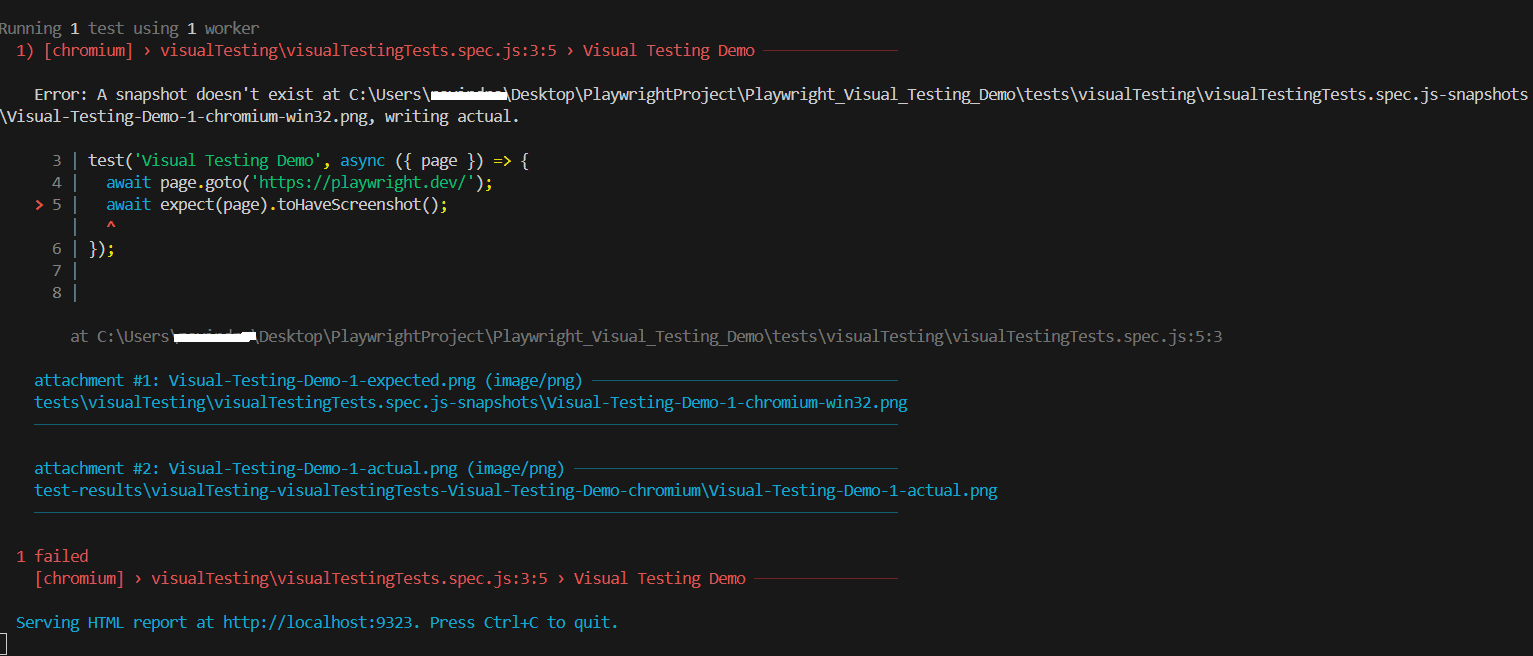
- But it will create one folder automatically under the tests folder, where the base image gets created for future comparisons.
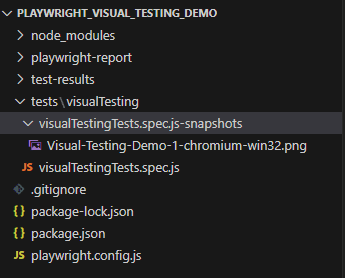
- Now run your test again and it passes, as the base image is there for comparison.

Get an Idea about Failed Comparison Test
- The above comparison technique matches the screenshot pixel by pixel, which means each pixel should match exactly. But if the test fails then you will get an idea very easily of what is different in both images in the playwright.
- When a visual test fails in Playwright, it automatically generates and saves three images in the test results: actual, expected, and diff as shown below.

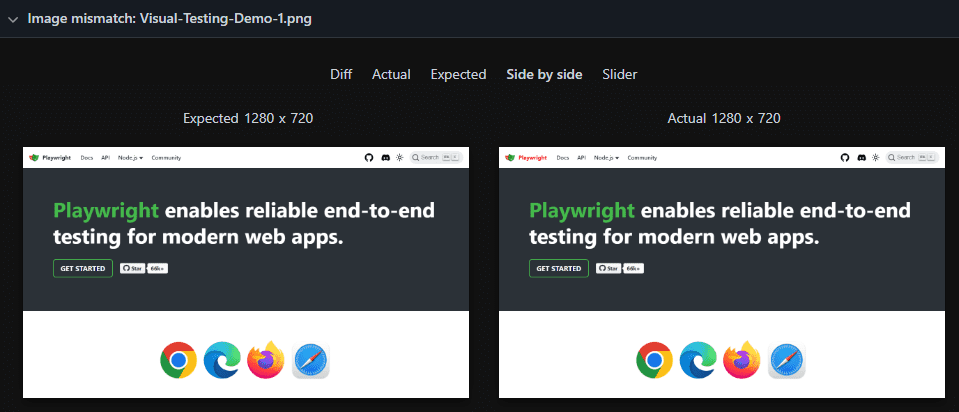
- Actual Image: The actual image is the newly captured screenshot from the current test run. It contains the current appearance of the page after recent changes or updates.
- The playwright automatically compares this image to the expected image to check if there are any visual changes.
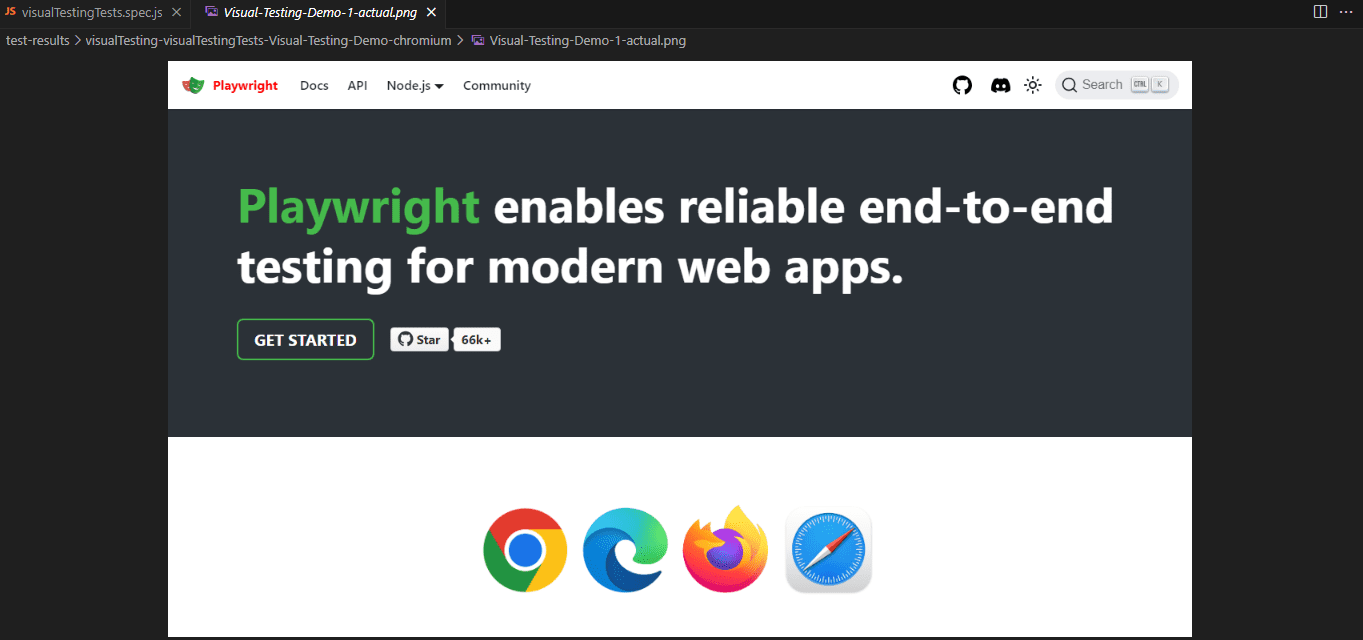
- Expected Image: The expected image is the baseline image that was saved during the initial test run. This image captures the page’s appearance as it was originally intended, serving as the “golden” image.
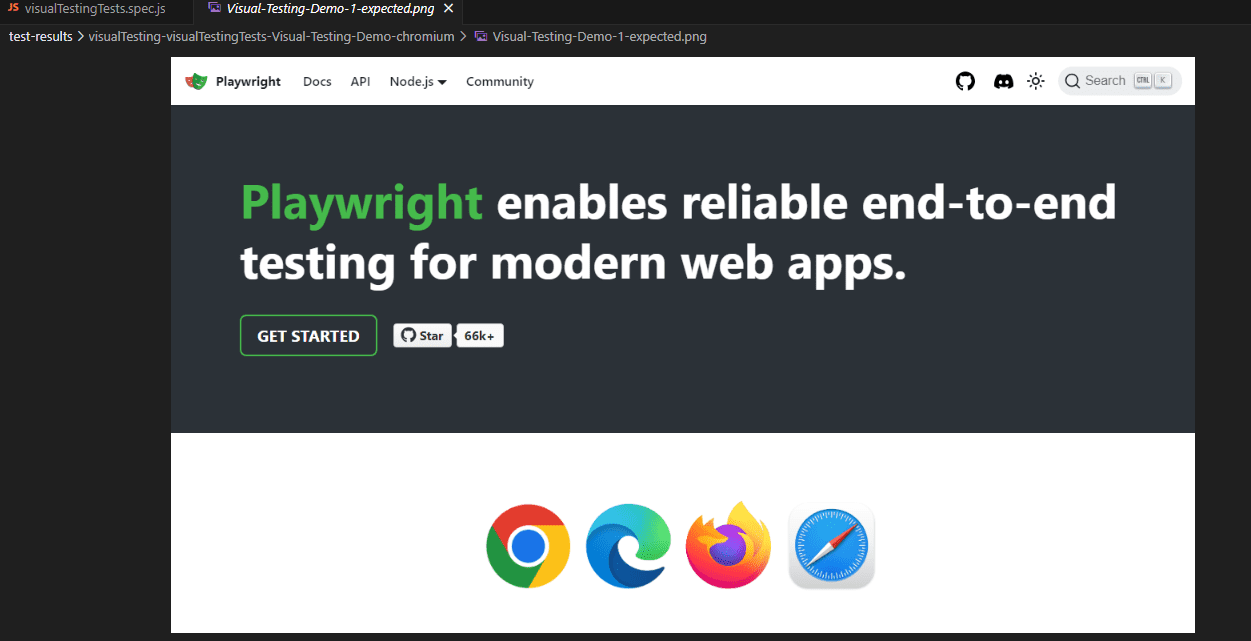
- Diff Image: The diff image highlights any visual differences between the expected and actual images. The playwright marks these differences, often in a contrasting color like red or yellow, making it clear where the two images are not matched.
- This image is very helpful in identifying what has changed. For example, if a button is misaligned or a color has unexpectedly shifted, the diff image visually pinpoints these areas and helps testers to spot unintended changes.
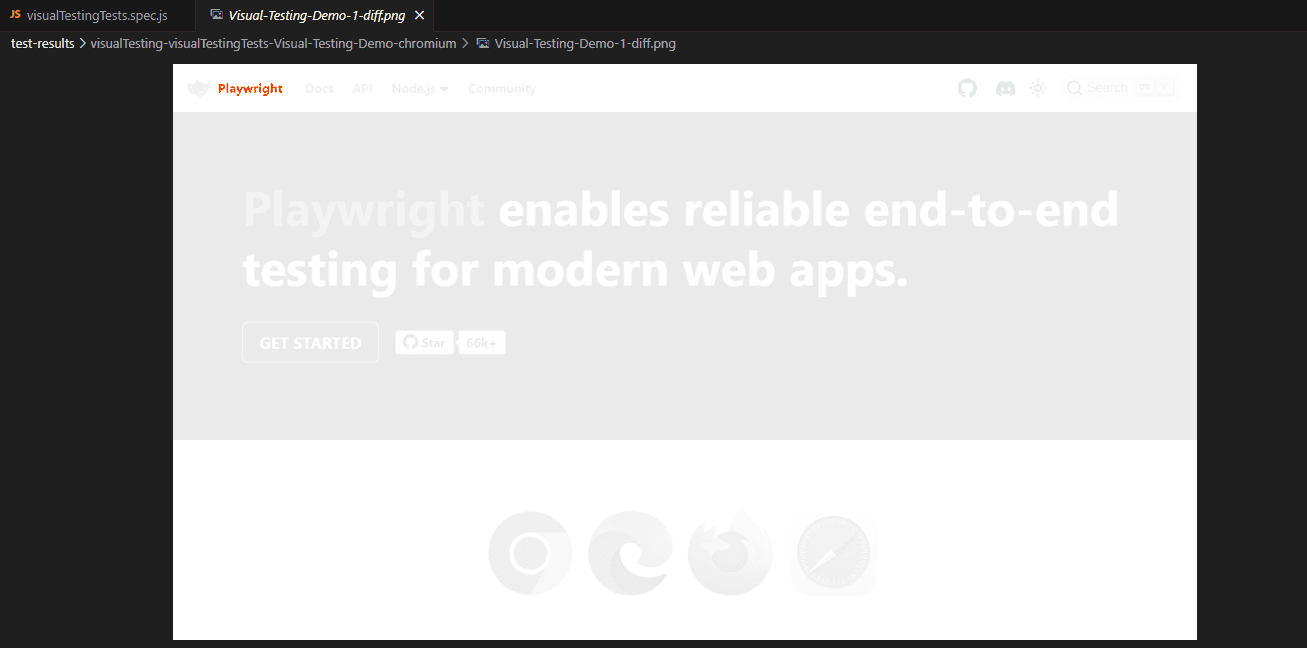
- You can also view these images directly in the generated report. The report is automatically created when a test fails, however, to generate it manually, you can run the command “npx playwright show-report” in the terminal.
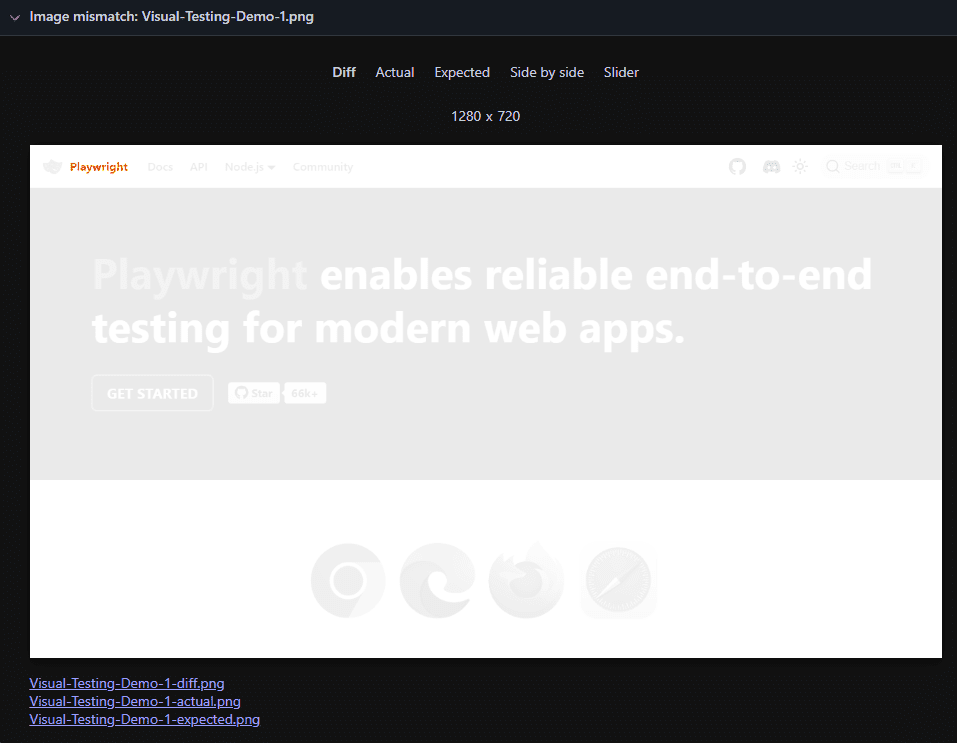
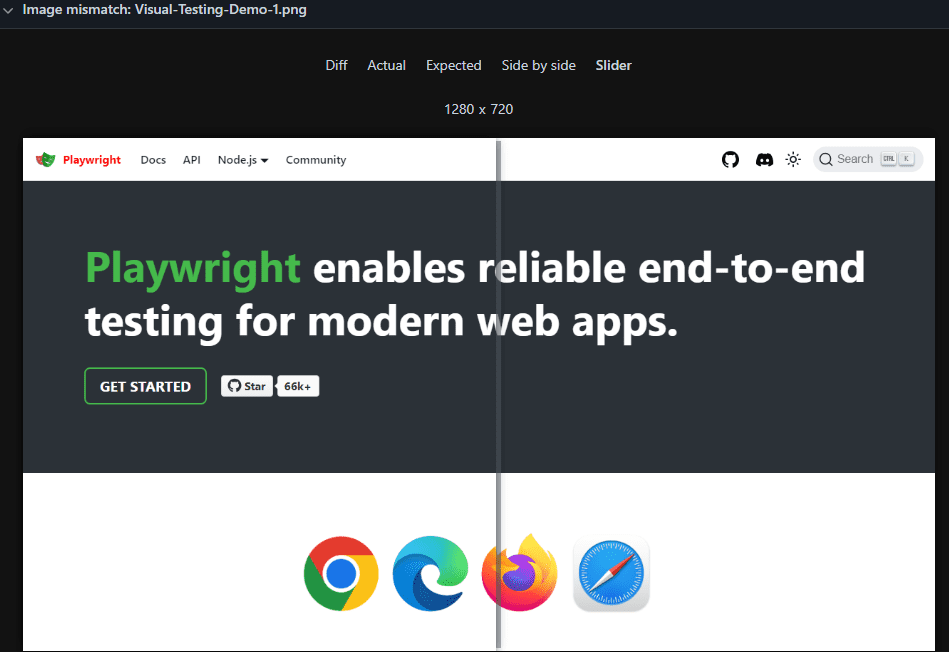
- The playwright also offers two additional comparison modes: “Side by side” and “Slider”. These allow you to compare screenshots within the report and highlight any differences. In the example below, the “Side by side” view allows testers to quickly compare actual and expected images.
- In the “Slider” view shown below, testers can move the slider to check differences between the actual and expected images.
Set Custom Name to the Captured Image
- You can set the custom name for each screenshot to keep your test output organized and easily identifiable. By default, Playwright generates names automatically based on the test name and appends them with browser and platform information like “example-test-1-chromium-win32.png”.
- For example, if you are capturing a screenshot of a homepage, you can set a meaningful name like “HomePage.png”. Specify the screenshot name as the first argument of the toHaveScreenshot() method:
import {test, expect} from '@playwright/test'


test('Visual Testing Demo', async ({ page }) => {
  await page.goto.('https://playwright.dev/');
  await expect(page).toHaveScreenshot("HomePage.png");
});- Once the screenshot is captured, it is created using the custom name as shown below.

Non-Image Snapshots
- You can save snapshots of text or data instead of only images and use them to check the content of your page hasn’t changed.
- You can save a snapshot of specific text on a page, and Playwright will compare this text to the snapshot in future test runs. If the text is the same as the baseline snapshot, the test will pass else it will fail.
- Let’s create a test with Playwright to compare text on a page with a saved snapshot as shown below.
import {test, expect} from '@playwright/test'


test('Visual Testing Demo', async ({ page }) => {
  await page.goto('https://playwright.dev/');
expect(await page.textContent('.hero_title')).toMatchSnapshot('HomePage.png');
});- The test captures the text from the .hero__title locator on the page and it compares this text to a baseline snapshot called hero.txt.
Updating BaseLine Screenshot
- Sometimes, you have to update the baseline screenshot when the Page is changed, and to update the baseline screenshot, you have to run the below command in the terminal.
- npx playwright test –update-snapshots
- When you run the above code, the test will run, and it compares the captured screenshot with the baseline screenshot.
- If the current screenshot and baseline screenshot do not match, then the test would typically fail. But with the –update-snapshots flag, Playwright automatically updates the baseline snapshot to match the current screenshot. So your test won’t fail and it will pass.
- After the baseline is updated, the next test run will compare the current screenshot to the updated baseline, and the test will pass if there are no further differences.
Image Comparison in Playwright with Threshold and Pixel Difference Option
- Playwright allows you to set a threshold and pixel difference options for more flexible image comparisons. Threshold and Pixel Differences give the ability to define acceptable levels of visual differences and ignore those minor differences while comparing the screenshots.
- Threshold: Sets an acceptable level of mismatched pixels as a percentage between 0 and 1.
- 0.1 threshold allows up to 10% of pixels to differ between the baseline and the current screenshot. Have a look at the below test which uses the threshold option.
import {test, expect} from '@playwright/test'


test('Visual Testing Demo', async ({ page }) => {
  await page.goto('https://playwright.dev/');
  await expect(page).toHaveScreenshot("HomePage.png", {threshold: 0.1});
});- Pixel Difference: Sets the maximum number of pixels that can differ before the test fails. “maxDiffPixels: 500” means the test permits up to 500 pixels to differ.
- These options make your tests more resilient, allowing minor, and expected changes without failing the test. Have a look at the below test which uses the pixel difference option.
import {test, expect} from '@playwright/test'


test('Visual Testing Demo', async ({ page }) => {
  await page.goto('https://playwright.dev/');
  await expect(page).toHaveScreenshot("HomePage.png", {maxDiffPixels: 500});
});- If you want to share the default value across all tests in the project, you can specify it in the Playwright config, either globally or for each project as shown below.
const{defineConfig,devices } = require('@playwright/test');
export default defineConfig({
  expect: {
    toHaveScreenshot: {maxDiffPixels: 500, threshold: 0.1}
  }
})
Conclusion
Visual testing is critical in maintaining a consistent and reliable user interface, and Playwright provides an efficient and user-friendly solution for achieving this. Features like baseline image generation, configurable comparison options, and detailed diff analysis allow you to detect and address unintended UI changes quickly.
Playwright’s threshold and pixel difference settings offer the flexibility to fine-tune your tests to meet your app’s specific needs. This not only saves time during development but also boosts confidence in your app’s visual consistency across various browsers and platforms.
By integrating Playwright’s visual testing into your automation workflow, you can ensure your app remains visually appealing and user-friendly with every release.
Witness how our meticulous approach and cutting-edge solutions elevated quality and performance to new heights. Begin your journey into the world of software testing excellence. To know more refer to Tools & Technologies & QA Services.
If you would like to learn more about the awesome services we provide, be sure to reach out.
Happy Testing 🙂


