
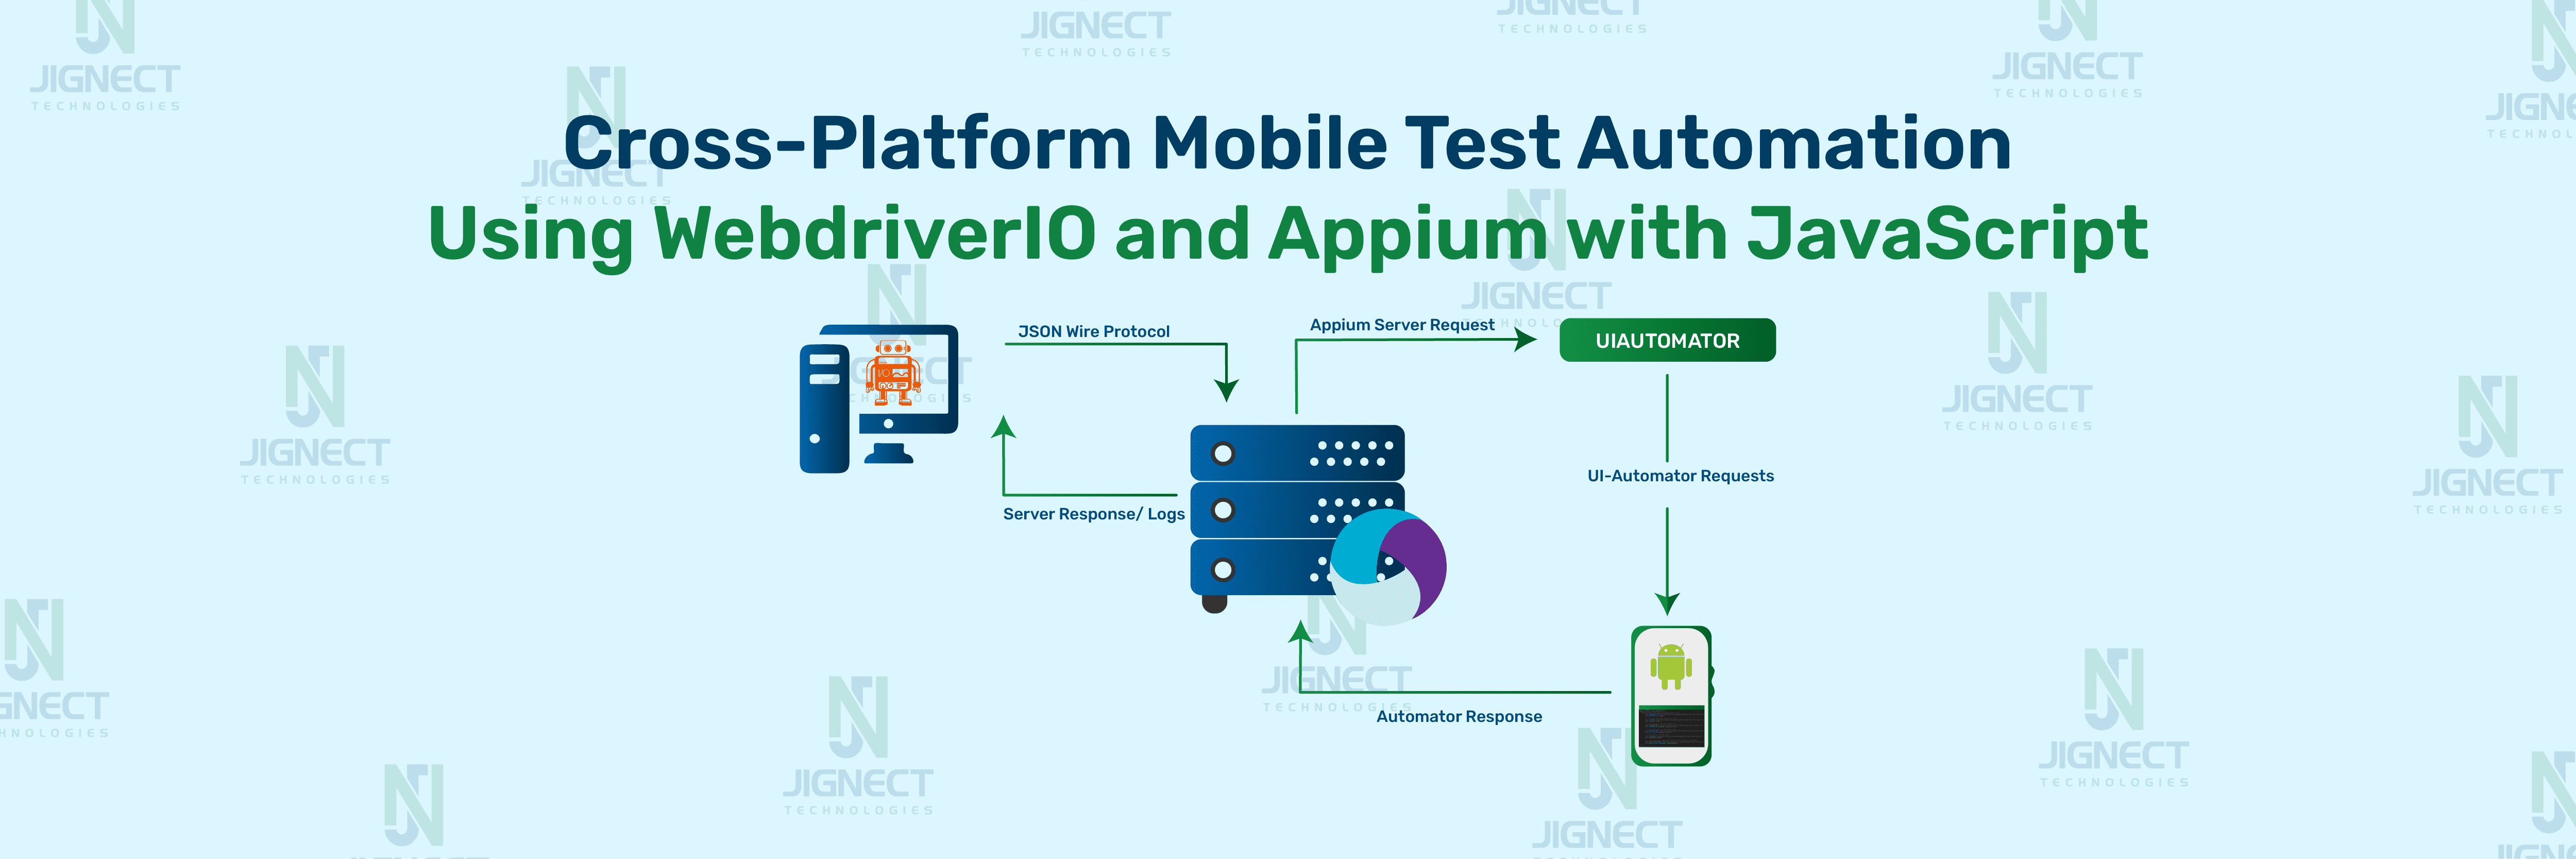
In the fast-moving world of software development, making sure applications work reliably and correctly is vital. Automation testing is essential in this process, helping developers find and fix bugs early to keep software quality high. WebdriverIO and Appium are two powerful tools that simplify testing for both web and mobile applications. When used with JavaScript, they form a strong framework for creating and running automated tests. WebdriverIO is a flexible tool for web automation, while Appium focuses on mobile application testing for both Android and iOS. By combining WebdriverIO and Appium with JavaScript, testers can create a unified testing setup for both web and mobile apps. This approach makes the testing process easier and ensures test scripts are consistent and reusable across different platforms. This blog will cover the setup, configuration, and practical uses of WebdriverIO and Appium with JavaScript to help improve your software testing practices.
Why WebdriverIO with Appium?
In software testing, using WebdriverIO with Appium provides a powerful, efficient, and unified method for testing both web and mobile applications. Here are several key reasons why this combination is beneficial:
Unified Testing Environment:
- Single Codebase: By using JavaScript, testers can write a single set of test scripts that can be used for both web and mobile applications, reducing redundancy and effort.
- Consistency: Ensures consistent testing practices across different platforms, leading to more reliable and maintainable tests.
Versatility:
- WebdriverIO: A robust automation tool built on the WebDriver protocol, ideal for web application testing across various browsers.
- Appium: Specifically designed for mobile application testing, supporting both Android and iOS platforms. This versatility allows for a broad range of testing scenarios.
Ease of Use:
- JavaScript Familiarity: Many developers are already familiar with JavaScript, making it easier to write and understand test scripts without the need for additional training.
- Rich Documentation and Community Support: Both WebdriverIO and Appium have extensive documentation and active communities, providing valuable resources and support for testers.
Integration Capabilities:
- Seamless Integration: Both tools can be integrated seamlessly with other testing frameworks, tools, and CI/CD pipelines, enhancing the overall testing workflow.
- Support for Advanced Features: Features like parallel testing, cloud services, and visual regression testing can be easily incorporated.
Scalability and Performance:
- Efficient Test Execution: The combined use of WebdriverIO and Appium allows for efficient execution of tests on multiple devices and browsers simultaneously, saving time and resources.
- Scalable Architecture: Suitable for projects of any size, from small applications to large-scale enterprise solutions.
Cross-Platform Testing:
- Broad Platform Coverage: Ensures that applications are tested on various operating systems and device types, improving the overall quality and user experience.
- Real Device Testing: Allows for testing on real devices, providing accurate and reliable results.
Prerequisites Steps
Before diving into the implementation, ensure you have the following prerequisites.
- Visual Studio Code [Version 1.90]
- Node [Version 20.13.1]
- Appium [Version 2.10.3]
- Appium.Webdriver [Version 3.5.6]
Here’s a detailed guide with descriptions for each command:
Setting Up Your Environment
- Download Visual studio code (VS Code) from its official site and install it.
- Install Node.js: Ensure you have Node.js installed on your machine. You can download it from Node.js.
- Install Appium and Android Studio. You can refer to this Appium with Java blog for guidance.
- Install Appium: Install Appium globally using npm.
Create a New Project Directory
- Begin by creating a new directory for your project and navigating into it. You can use the following commands for that: “mkdir wdio-js-project” and “cd wdio-js-project”.
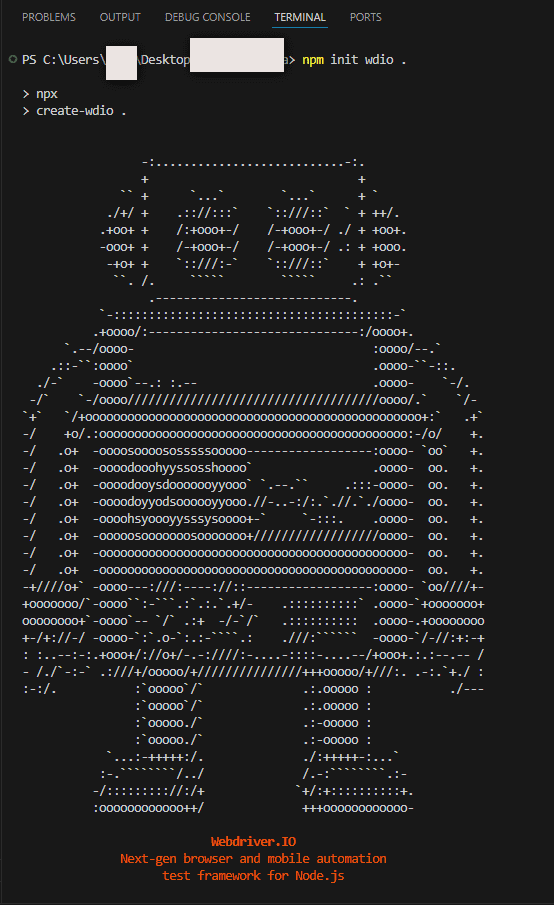
- To initialize a WebdriverIO project, hit this command in your project directory terminal: ”npm init wdio@latest .”
- if you want to create a new project in a specific directory, you can use: “npm init wdio@latest ./path/to/new/project”.
Initialize the Project
- Initialize a new Node.js project to hit this command ‘npm init -y’ in the terminal.
- This command creates a ‘package.json’ file with default settings.
Install WebdriverIO CLI
- Install the WebdriverIO CLI tool globally to facilitate project configuration. Run this cmd command “npm install –save-dev @wdio/cli”.
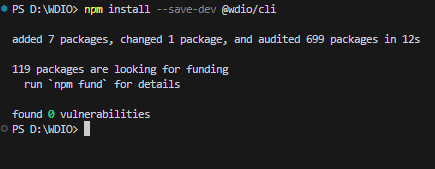
- @wdio/cli: WebdriverIO CLI tool for project configuration.
- @wdio/local-runner: Local runner for WebdriverIO tests.
- @wdio/mocha-framework: Mocha framework for writing tests.
- @wdio/spec-reporter: Reporter to output test results to the console.
- appium: Appium package for mobile automation.
- @wdio/appium-service: Service to manage Appium server lifecycle.
Run WebdriverIO Configuration Wizard
- Execute the WebdriverIO configuration wizard to set up your project. This interactive tool will guide you through selecting your preferred framework, reporter, and other configurations. Hit this “npx wdio config” in the terminal and follow the instructions.
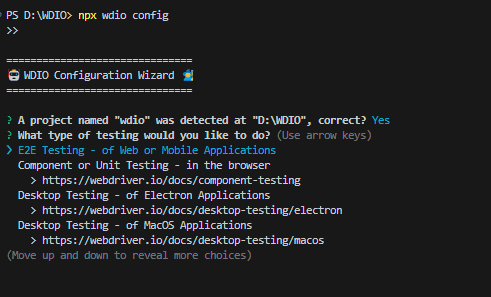
- Depending on your chosen configurations, you need to provide answers as below for the following setup questions based on your requirements.
- Where do you want to execute your tests? On my local machine.
- Which framework do you want to use? Mocha.
- Do you want to use a compiler? No.
- Where should your tests be launched? Local.
- Which reporter do you want to use? Spec.
- Do you want to add a service to your test setup? appium.
Configure wdio.conf.js
Once the setup wizard is complete, it will create a “wdio.conf.js” file in your project directory. Be sure to review and modify this file as needed for your project. Here is a simple example:
[wdio.conf.js]
export const config = {
    runner: 'local',
    port: 4723,

    specs: [
        './y/test.e2e.js'
    ],
    exclude: [
        // 'path/to/excluded/files'
    ],

    maxInstances: 10,

    capabilities: [{
        // capabilities for local Appium web tests on an Android Emulator
        platformName: 'Android',
        maxInstances: 1,
        'appium:deviceName': 'Pixel 4 API 30',
        'appium:orientation': 'PORTRAIT',
        'appium:platformVersion': '11.0',
        'appium:automationName': 'UiAutomator2',
        'appium:app': "Path to your app",
    }],

    logLevel: 'info',

    bail: 0,

    waitforTimeout: 10000,

    connectionRetryTimeout: 120000,

    connectionRetryCount: 3,

    services: ['appium'],

    framework: 'mocha',

    reporters: ['spec'],

    mochaOpts: {
        ui: 'bdd',
        timeout: 60000
    },
}
Create Test Specifications
Create a directory for your test scripts (e.g., test/specs) and write your test cases in JavaScript. Here’s a basic example:
[loginTest.js]
import { expect } from '@wdio/globals'
describe('My Login application', () => {
    it('should login with valid credentials', async () => {
        const drawerMenuIcon =await $("//android.view.ViewGroup[@content-desc='open menu']/android.widget.ImageView");
        await drawerMenuIcon.click();

        // Locate and interact with the username field
        const loginMenu = await $("//android.view.ViewGroup[@content-desc='menu item log in']");
        await loginMenu.click();

        // Locate and interact with the userName field
        const userNameField = await $("//android.widget.EditText[@content-desc='Username input field']");
        await userNameField.setValue('bob@example.com');

        // Locate and interact with the password field
        const passwordField = await $("//android.widget.EditText[@content-desc='Password input field']");
        await passwordField.setValue('10203040');

         // Locate and click the login button
         const loginButton = await $("//android.view.ViewGroup[@content-desc='Login button']");
         await loginButton.click();

        // // Assert the user is logged in by checking for an element on the home page
        const productsPageHeader = await $("//android.view.ViewGroup[@content-desc='container header']/android.widget.TextView");
        await expect(productsPageHeader).toBeDisplayed();
    })
})
This script is a WebdriverIO test that automates the login process for a mobile application. It verifies that the application correctly logs in with valid credentials by checking for the presence of a specific element on the products page.
Let’s break down and explain each line of the test script:
- import { expect } from ‘@wdio/globals’ : This line imports the `expect` assertion function from the WebdriverIO globals module.
- The `expect` function is used for assertions in tests.
- describe(‘My Login application’, () => { : The `describe` function is used to group related test cases.
- ‘My Login application’ is the name of the test suite.
- it(‘should login with valid credentials’, async () => { : The `it` function defines a single test case.
- ‘Should login with valid credentials‘ is the description of the test case.
- `async` indicates that the function contains asynchronous operations.
- const drawerMenuIcon =await $(“//android.view.ViewGroup[@content-desc=’open menu’]/android.widget.ImageView”); : This line locates the drawer menu icon element using an XPath selector. and `await $` waits for the element to be found before proceeding.
- await drawerMenuIcon.click(); : This line clicks on the located drawer menu icon.
- const userNameField = await $(“//android.widget.EditText[@content-desc=’Username input field’]”); : This line locates the username and password input field using an XPath selector.
- await userNameField.setValue(‘bob@example.com’); : This line sets the value of the username and password field.
- await expect(productsPageHeader).toBeDisplayed(); : This line asserts that the products page header is displayed, indicating a successful login.
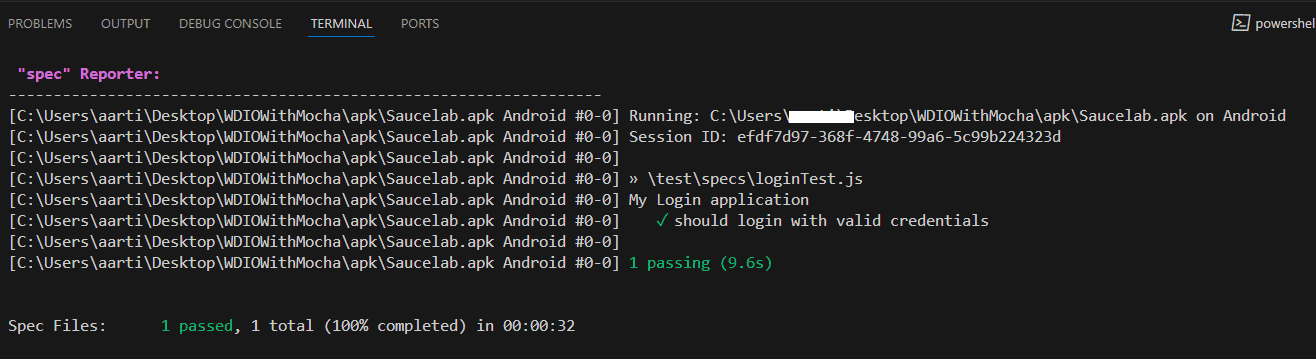
Executing the Test Script
After your test script is ready, you can run it by entering the command “npx wdio wdio.conf.js” in the Command Prompt:

Conclusion
Integrating WebdriverIO with Appium and JavaScript provides a powerful and unified framework for automating tests across web and mobile applications. This approach leverages WebdriverIO’s web automation capabilities and Appium’s support for Android and iOS, creating a seamless and consistent testing environment. Utilizing JavaScript, a language familiar to many developers, reduces the learning curve and allows teams to begin testing efficiently. However, there are some limitations to consider, such as the complexity of initial setup, potential slower execution speeds on real devices, and the need for regular updates to maintain compatibility with various browsers and mobile OS versions.
By following the steps outlined in this blog, you can streamline your testing workflow, achieve high software quality, and ensure comprehensive cross-platform testing coverage. This combination reduces redundancy, ensures consistency, and enhances the efficiency and reliability of your testing processes. As software development continues to evolve, leveraging such integrated testing solutions will be crucial for maintaining high standards of quality and performance.
Keep practising and exploring to master these powerful tools further with Jignect.
Witness how our meticulous approach and cutting-edge solutions elevated quality and performance to new heights. Begin your journey into the world of software testing excellence. To know more refer to Tools & Technologies & QA Services.
If you would like to learn more about the awesome services we provide, be sure to reach out.
Happy Testing 🙂

")
